How to Change Your Honda Transmission Fluid
Dive into the Honda How-to Garage for a hilarious, step-by-step guide to changing your transmission fluid—without invoking the wrath of the Transmission Gods. Whether you drive a CVT or a manual, this DIY tutorial breaks down the process with humor, clarity, and just enough grease to keep things interesting.
GARAGE
12/14/20253 min read
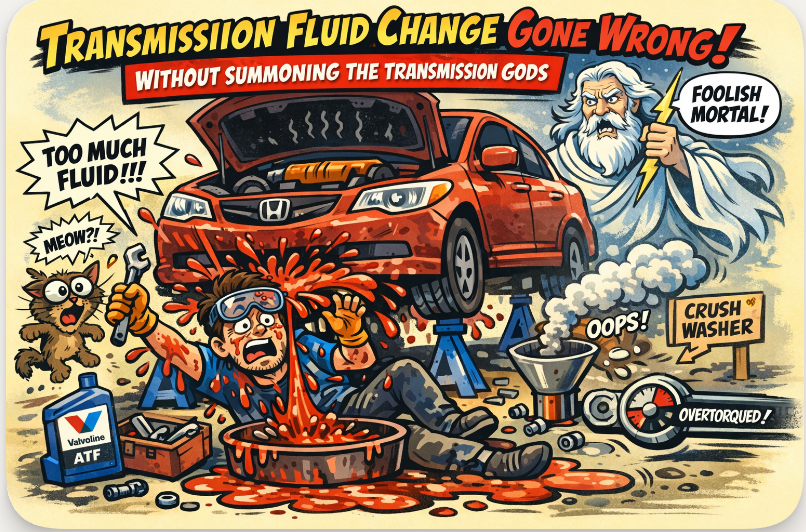
How to Change Your Honda Transmission Fluid (Without Summoning the Transmission Gods)
Welcome back to the Honda How-to Garage, where we turn greasy chaos into glorious DIY victories. Today’s mission: changing your transmission fluid without crying, stripping bolts, or summoning the ghost of Torque Dad.
When Should You Change Your Transmission Fluid?
Let’s start with the big question: How often should you do this? The answer is... it depends. (Classic Honda.)
Automatic or CVT transmissions: Usually every 30,000 to 60,000 miles, though some models can stretch to 100,000 miles under “normal” conditions (i.e., not towing a trailer full of bowling balls through Death Valley).
Manual transmissions: Also, every 30,000 to 60,000 miles. Because even gearheads need love.
Extreme driving conditions—like stop-and-go traffic, towing, or living somewhere that feels like the surface of the sun—can shorten that interval.
Pro tip: Always check your Honda owner’s manual. It’s like the sacred scroll of transmission wisdom.
What Fluid Should You Use?
We recommend:
Valvoline ATF – trusted by mechanics and Costco warriors alike.
Honda ATF – because sometimes factory spec is just easier than arguing with your cousin who swears by bacon grease.
Step-by-Step: Transmission Fluid Change (Honda Club Style)
Step 1: Prep and Jack It Up
Park on a level surface. Set the parking brake like your life depends on it (because it kind of does). Lift the car using the front jack point (usually a reinforced metal loop or bracket behind the radiator).
Step 2: Safety (The "Don't Get Squished" Clause)
Never trust a hydraulic jack with your life; they are fickle beasts.
Jack Stands: Place them under the pinch welds (the reinforced metal seams behind the front wheels).
The "Shake Test": Give the car a firm nudge while it’s on the stands. Better it falls now than when you’re underneath it contemplating your life choices.
Step 3: Remove the FILL Plug First
CRITICAL ERROR PREVENTION: Always loosen the Fill Plug (the one on top) before you touch the Drain Plug (the one on the bottom). If you drain the fluid and then realize your fill plug is rusted shut, you now own a very large, expensive paperweight.
Automatic: Use the dipstick hole or the 17mm bolt marked "ATF."
CVT: Look for the plug labeled "HCF-2."
Step 4: The Great Draining
Crawl underneath and find the drain plug. It has a 3/8" square hole.
Pro Tip: You don't need a socket; just stick the bare head of your 3/8" ratchet directly into the bolt.
The Splash Zone: Have your catch pan ready. The fluid will exit with the enthusiasm of a fire hose. Try to aim; try not to drink it.
Step 5: Inspect the "Forbidden Glitter"
Wipe off the drain plug. It’s magnetic, so it will have some fine grey "sludge" on it. This is normal wear. If you find actual chunks of metal (the "forbidden glitter"), the Transmission Gods are angry, and a mechanic visit is in your future. Replace the crush washer. It costs $1.00—don't be the person who skips this and leaves pink puddles all over the driveway.
Step 6: Reinstall and Fill
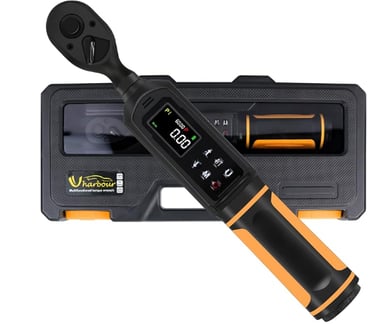
Drain Plug Torque: Tighten to 36 ft-lbs.
The Fill: Use a long-neck funnel. For a standard drain-and-fill, you'll usually need about 2.5 to 3.5 quarts. Check your manual for the exact "refill capacity" (not the "total capacity," which includes the torque converter).
Step 7: The Gearbox Dance
Lower the car.
Start the engine.
With your foot on the brake, slowly move the shifter through every position ($P \rightarrow R \rightarrow N \rightarrow D \rightarrow L$) and back. Hold each for 3 seconds. This gets the fluid into all the nooks and crannies.
Step 8: The Final Check
Automatic: Honda is weird. Check the fluid after the engine is warmed up, but within 60-90 seconds of turning the engine off. If you check it while it's running (like a Chevy), the reading will be wrong.
CVT: With the car level and engine running, remove the "check bolt" near the bottom. If a tiny trickle comes out, it’s perfect.
Final Step - Cleanup
Wipe everything down.
Pour the used fluid into a sealed container.
Recycle it at your local auto parts store or a Walmart location.
DO NOT pour it down the drain, into the yard, or into your neighbor’s koi pond. (Seriously. They will not forgive you.)
--


Mastersgt.com is a participant in the Amazon Services LLC Associates Program. As an Amazon Associate, I may earn from qualifying purchases at no extra cost to you!
Copyright Notice:
All content on Mastersgt.com is protected under copyright law. Unauthorized reproduction, distribution, or use of any text, images, or other materials without explicit permission is prohibited. If you'd like to share or reference a post, please provide proper attribution.